Mirror Shield: Zelda Ocarina of Time
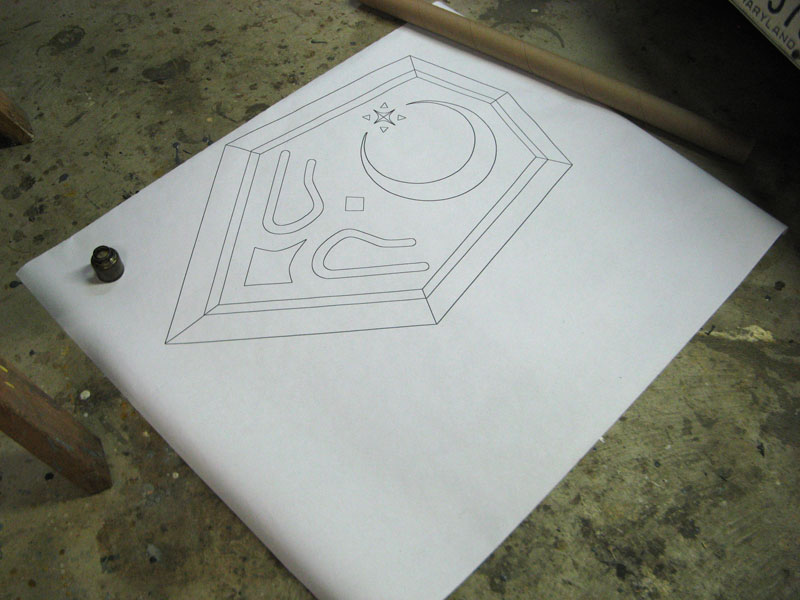
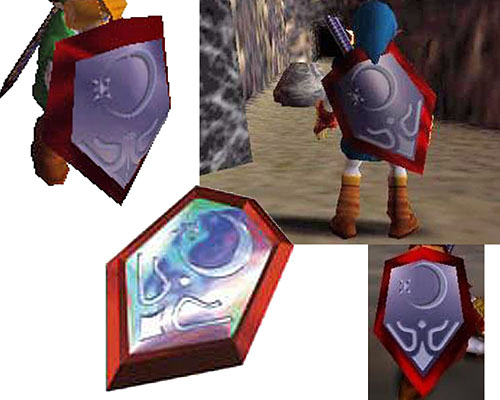
This is Link’s Mirror Shield from Zelda: Ocarina of Time. The 3DS uses a different design, so I kept with the original from the first release. The surface of the shield will be made of very strong resin to resist light impacts, while the inside will be filled with foam to keep the weight down during cosplay. The shield measures a 34” x 22 ” inch surface area, and should have an overall weight of about 5-8 lbs. The automotive paint I'll be using should give a 100% mirror reflection over the curved surface, creating the appearance of an actual mirror. The back will also come with a sturdy handle and leather arm strap for wielding right handed as Link traditionally does.
I've been meaning to do this project for some time now, but just haven't gotten to it. Now that I'm starting though, I've decided to put up a series of pictures to show the progress. Once complete, I'll compile a DVD tutorial of the process so that you can see every step of the way for those of you who would like to make their own props.

September 8:
Here are the final pictures of the Mirror shield fully chromed. The process starts with a black base coat, then several layers of clear coat, followed by chrome, and then finished with red around the borders. As you can see, the final result is literally a Mirror Shield, as accurate as possible from the concept art shown above. Hopefully this winter I can compile the 30+ hours of footage and timelapse photos into a concise tutorial DVD for those wanting all the details from start to finish, inclusive of where to get the materials, the prices, how to use them, and the potential troubleshooting tips that you may encounter.


August 16:
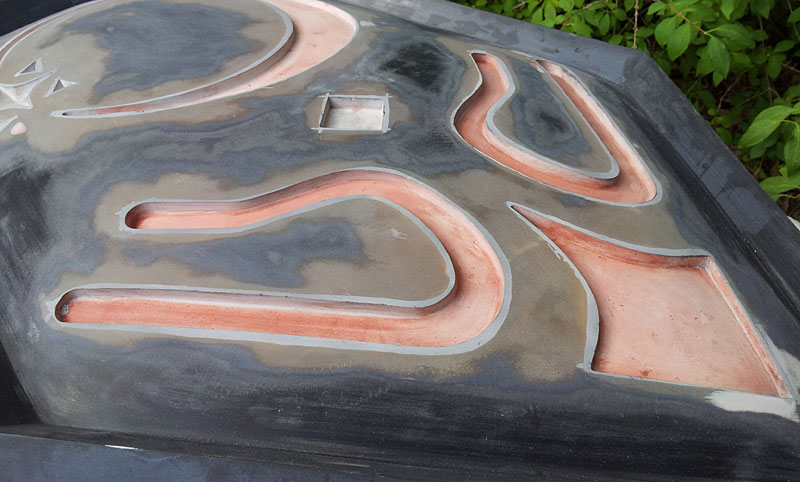
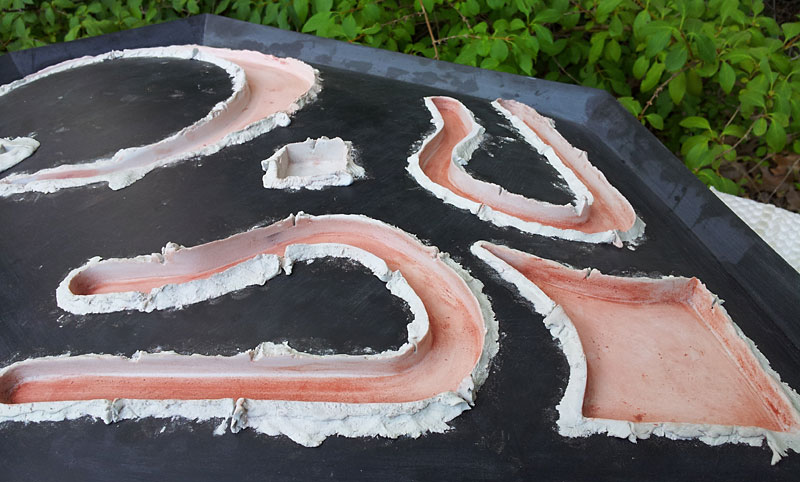
Finally done and ready for painting. The final hours count was about 100, plus or minus a few. In this last section, everything was sanded polished smooth, then the engravings were sculpted and pressed into the shield. But I'll let you guess how I pushed them through solid fiberglass :) Or at least until the DVD comes out. Overall, I'm rather happy with the turn out, and all that remains now is to see if I can paint it correctly!




August 4:
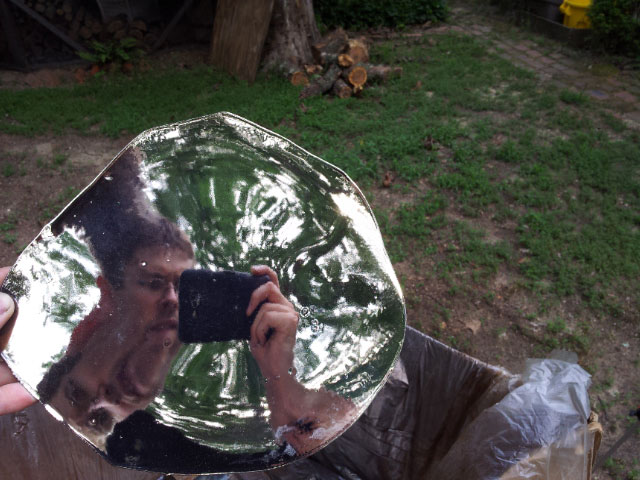
This is probably the most time intensive part of the entire process. I'm already over 50 hours and counting, with still more to sand. Trying to get every corner and crevice while making every angle sharp and precise takes a lot of time. But so far the results are looking promising, and the mirror paint test samples are looking AMAZING!!!


July 23:
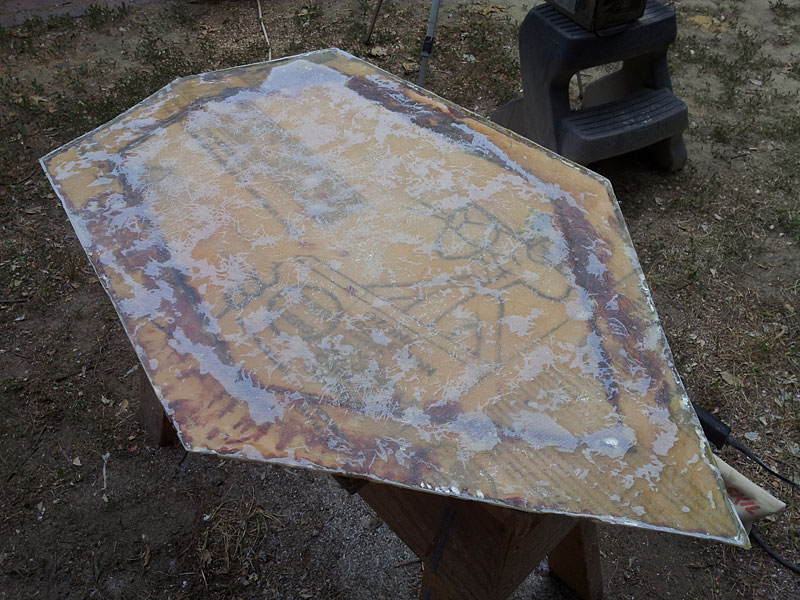
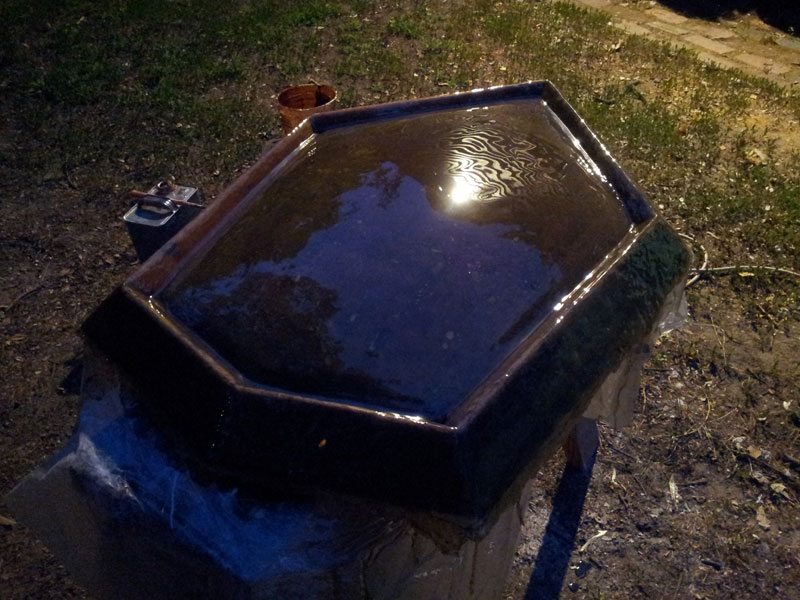
Most of the fiberglassing has been done at this point. The smooth coat has been applied to give a nice even, semi-level surface to the front. The back was fiberglassed and roughly sanded. Then hardboard pieces were cut out, the edges were beveled, and then glued onto the back of the shield for the final look.


July 7:
At this point the shield has been fiberglassed with 3 layers of cloth and is ready for rough sanding before going through a second and third smooth coating.


June 24:
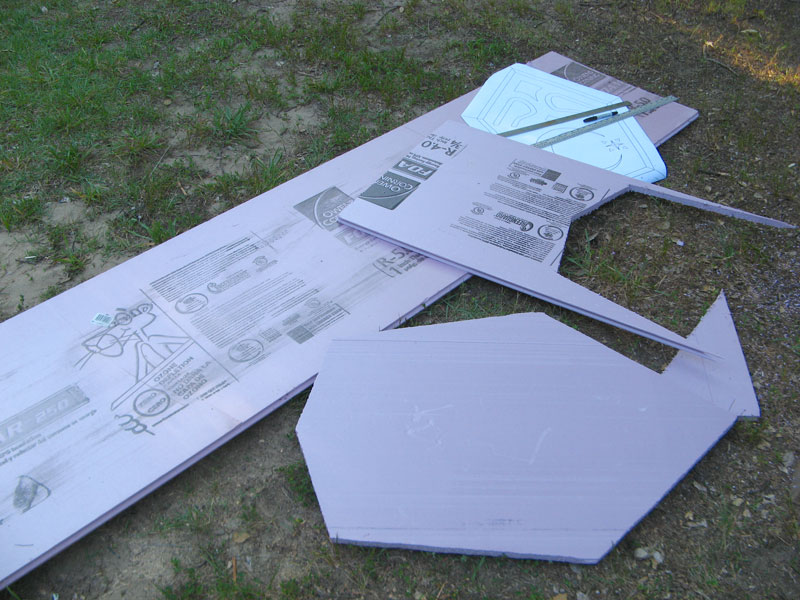
Finally picked up an HD camera last weekend and started filming the production. Here are a few pics showing how the shield is shaped from pink house insulation foam.

